|
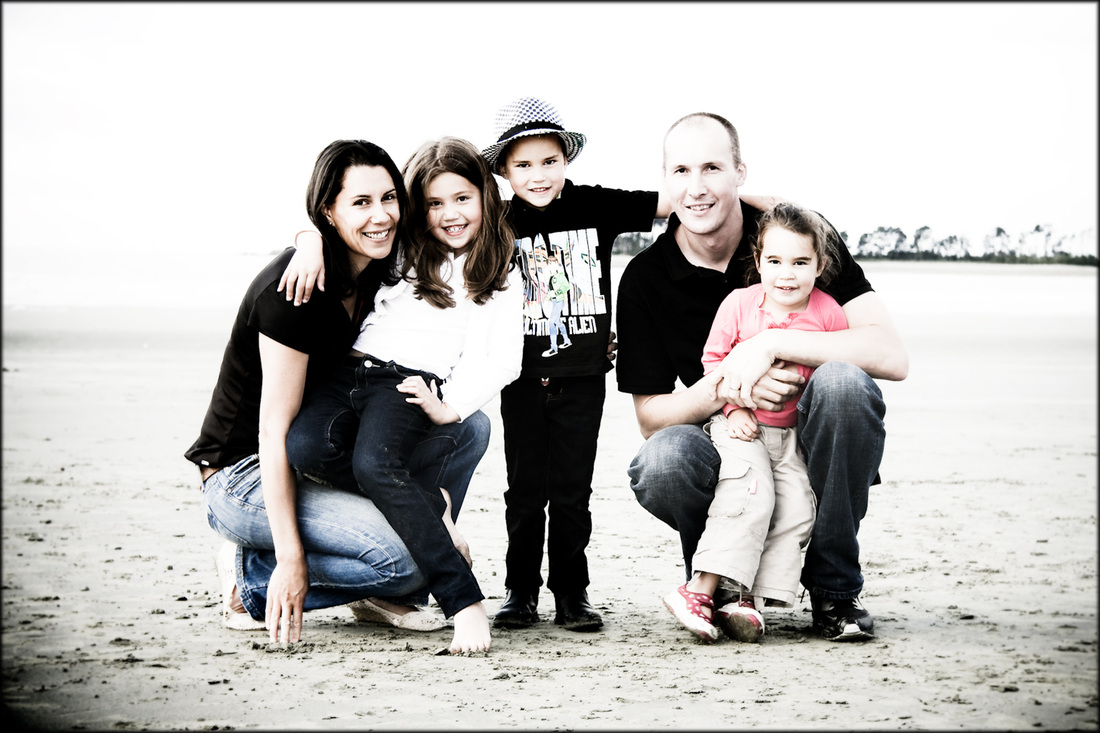
Stepping back and allowing a family to enjoy each other's company is often the best way of capturing great family portraits. 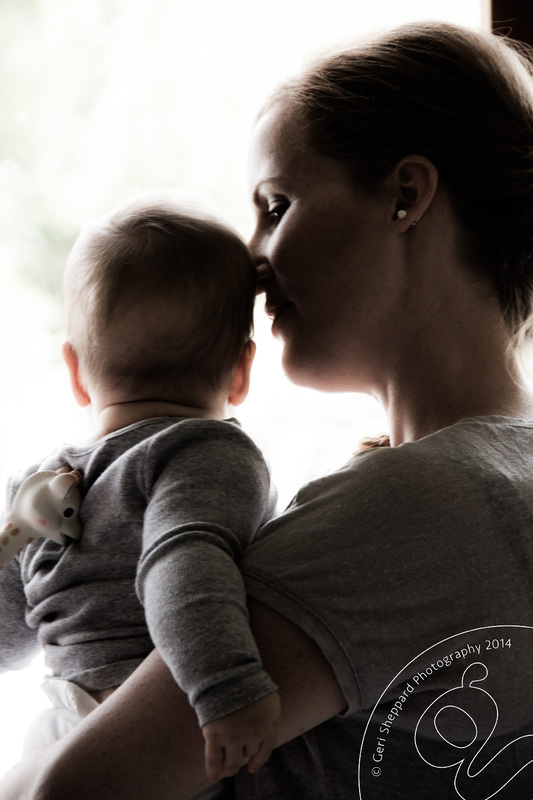
0 Comments
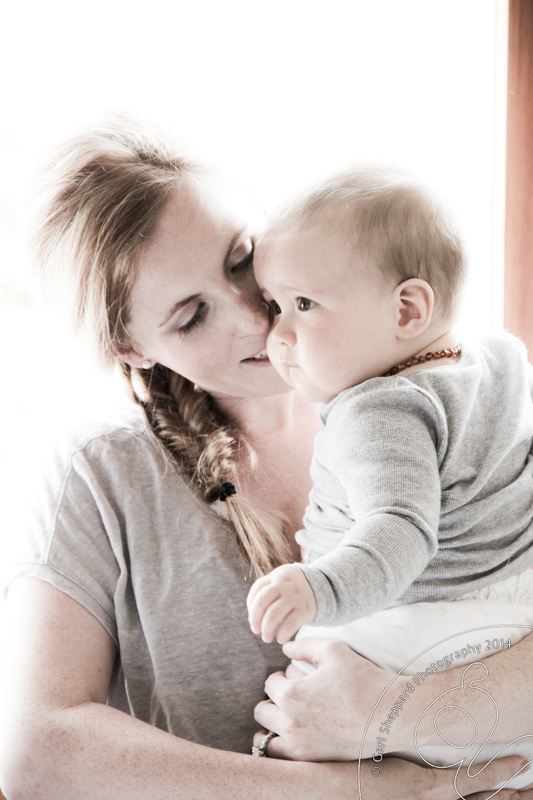
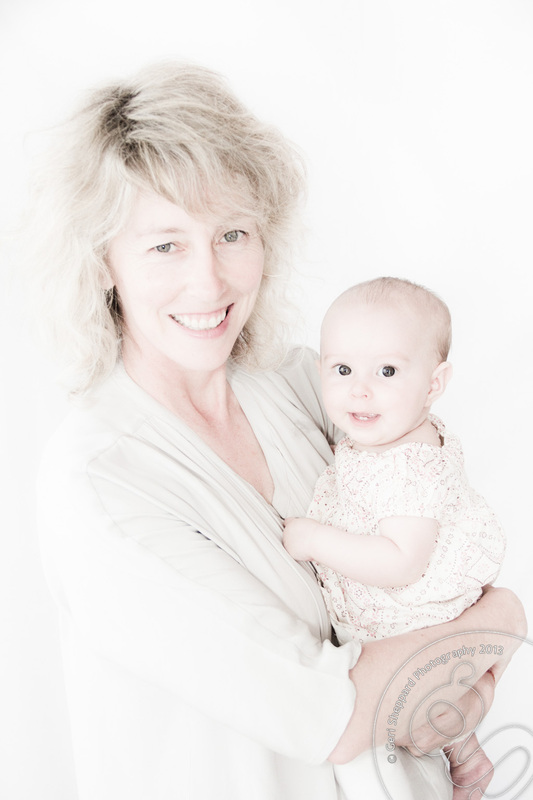
A Gathering of Gardners'A recent family gathering gave me the perfect excuse to photograph my own children and their gorgeous cousins. These images were captured using the same daylight studio set-up described in my last post. Light from a large window directly in front of or slightly to the side of the subject. Simple but stunning.
These were the photos this gorgeous family chose for display. 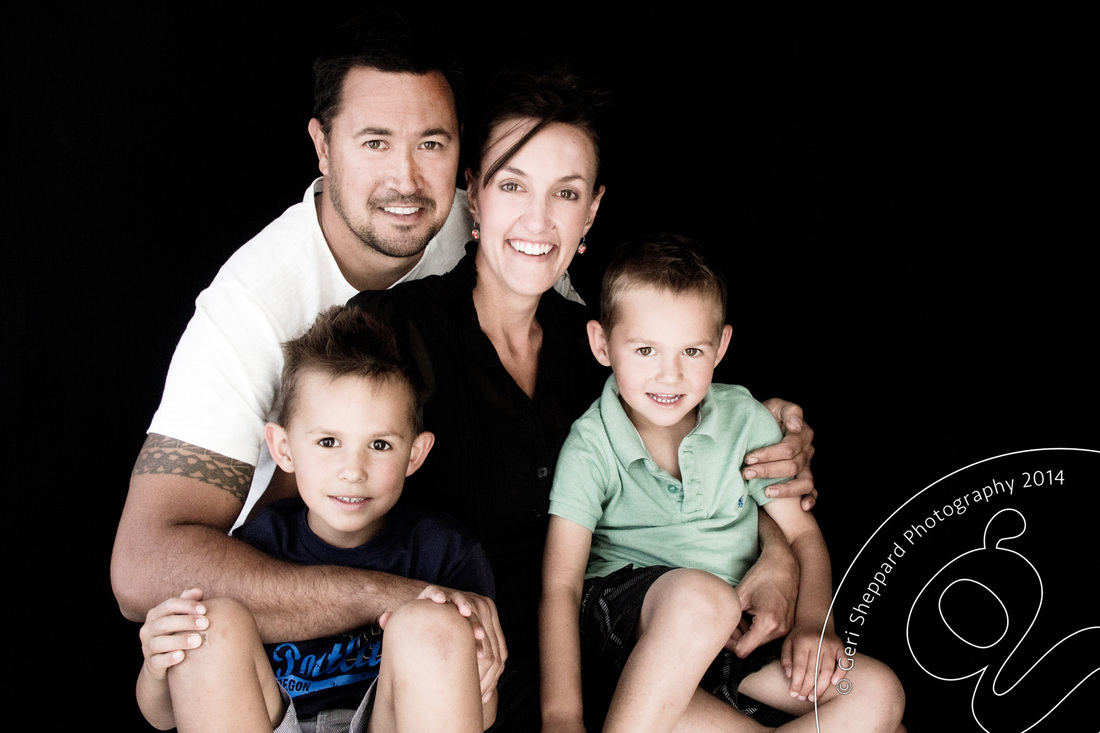
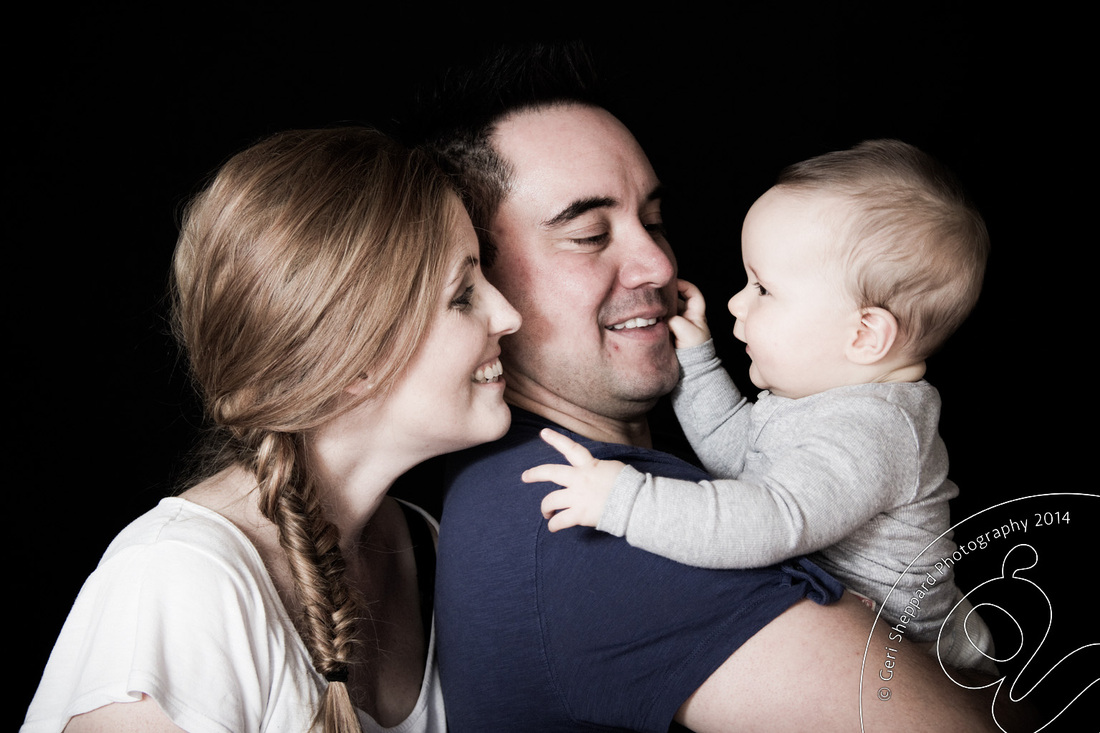
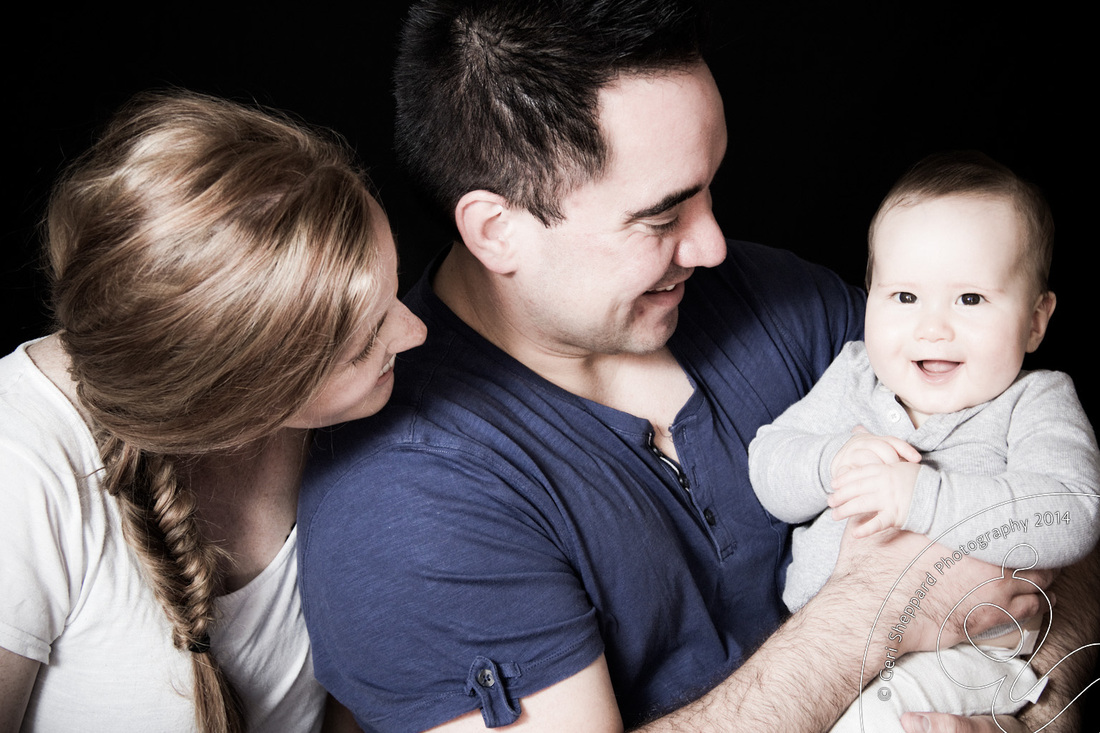
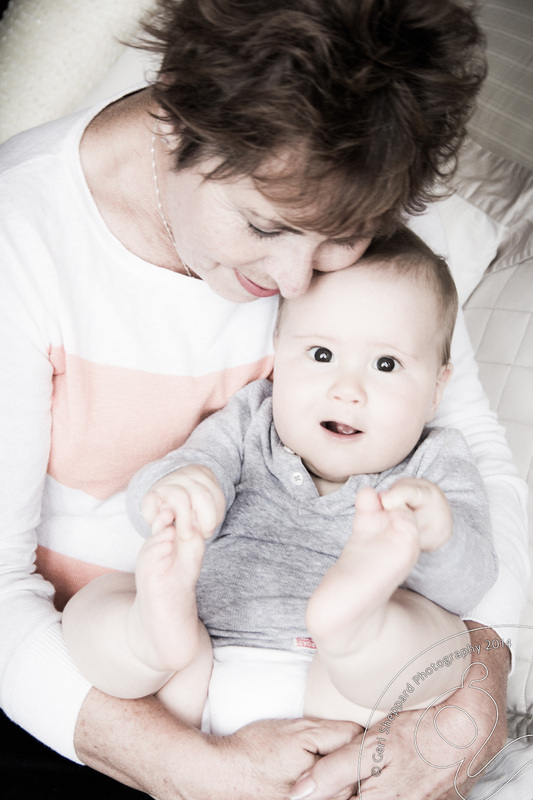
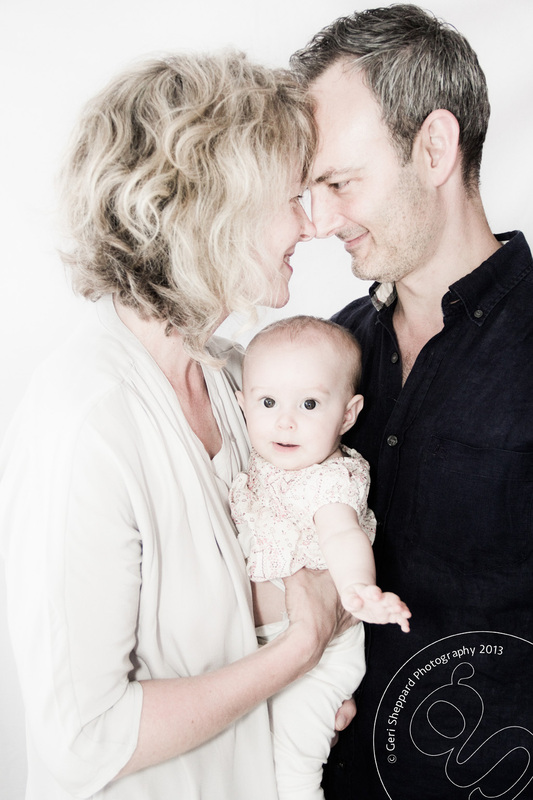
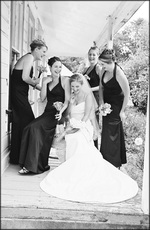
You can get quite tricky with your lighting but often the simplest lighting set-up is the most effective. These two daylight studios are easily setup at home. In this family photo the light is from the front, great when you have a few people in shot because no-one gets shaded out or darkened by light 'fall-off'. The black backdrop makes the subjects pop out and concentrates your view. The further away your backdrop is from the subject the darker it is, and if it was lighter in colour, the less likely that shadows will fall on it.
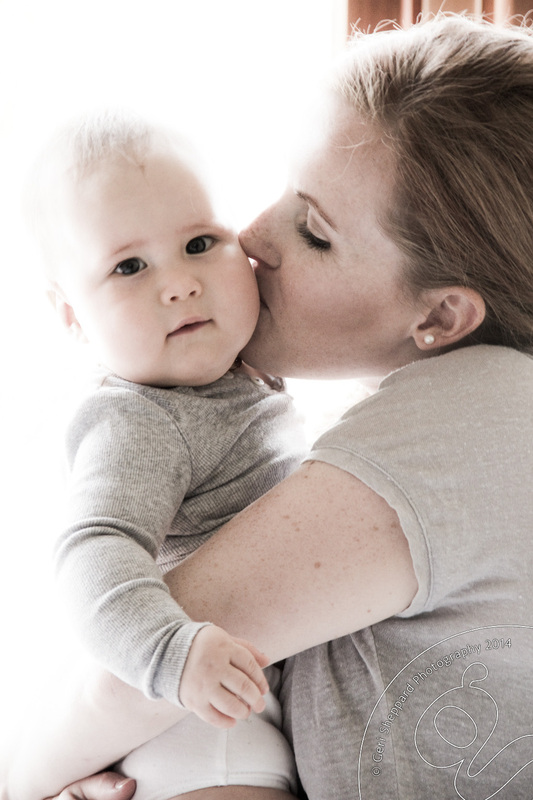
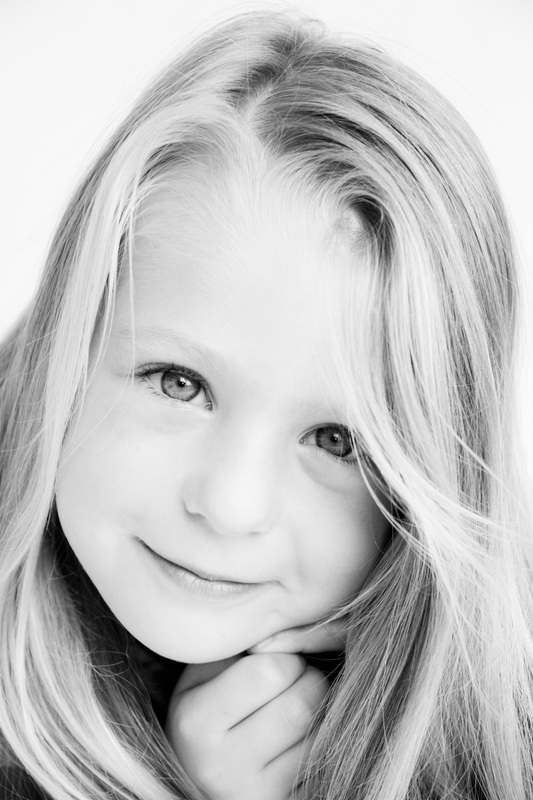
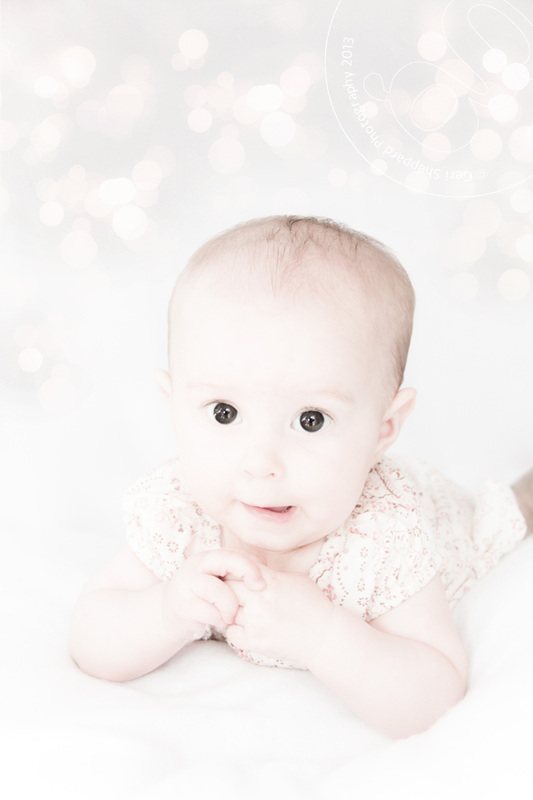
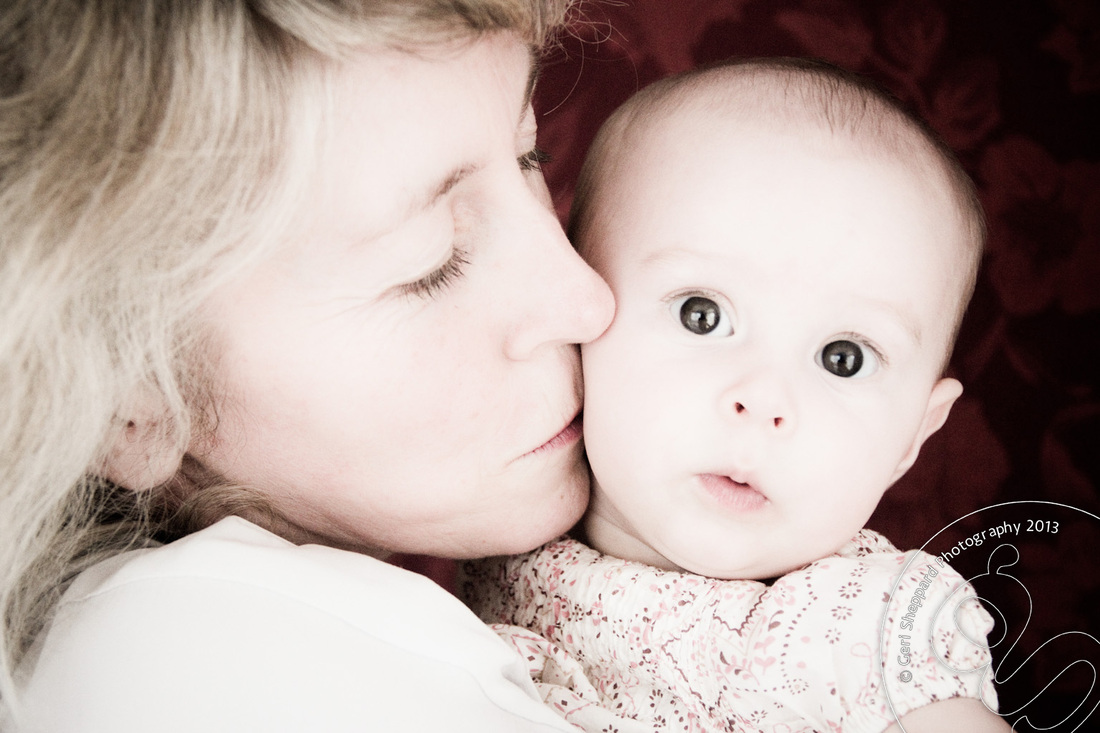
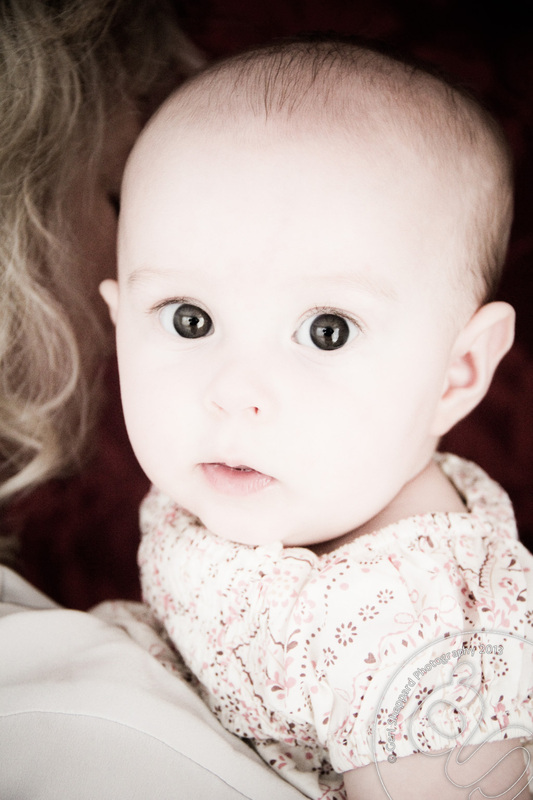
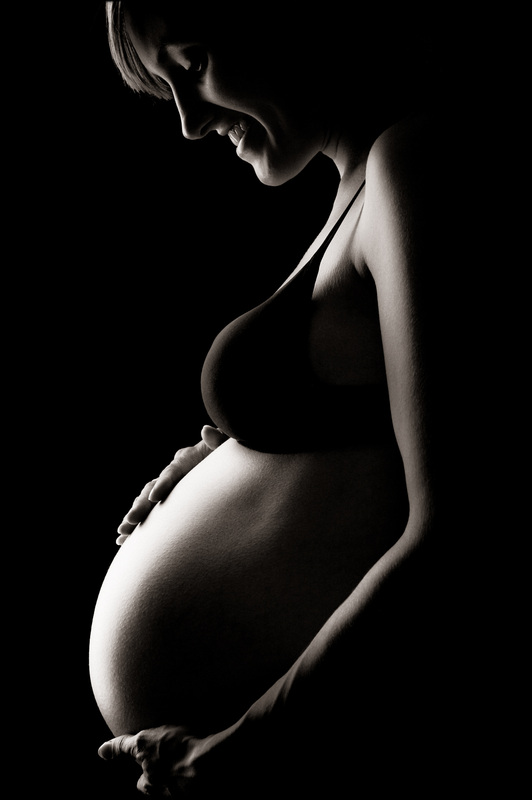
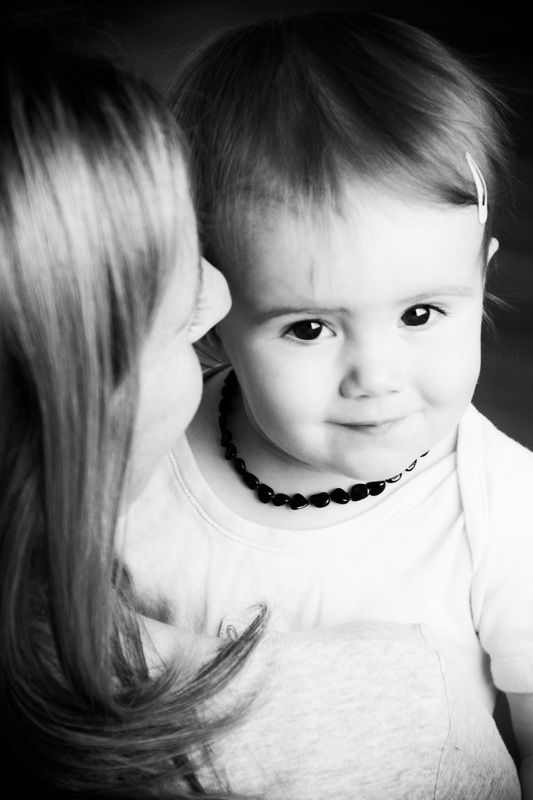
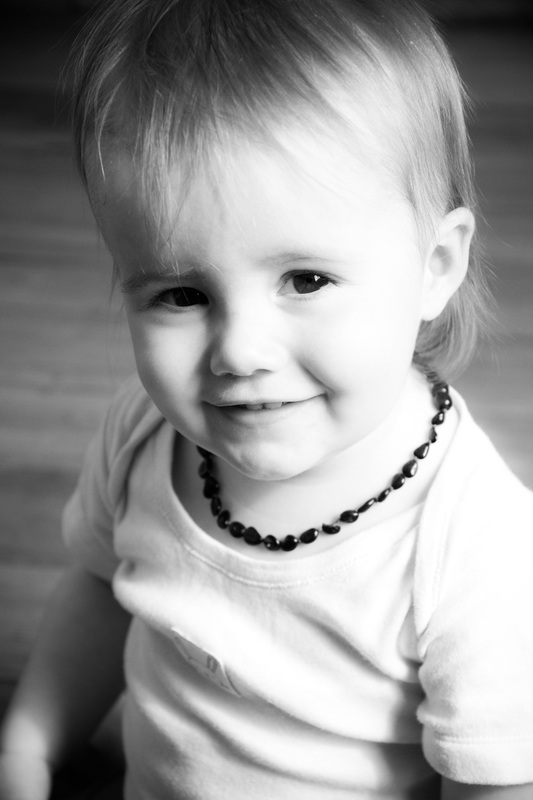
In these single portraits the window light is on the kids right, slightly forward of their position so the light accentuates the the shape of the face. I love this chiaroscuro style of lighting.
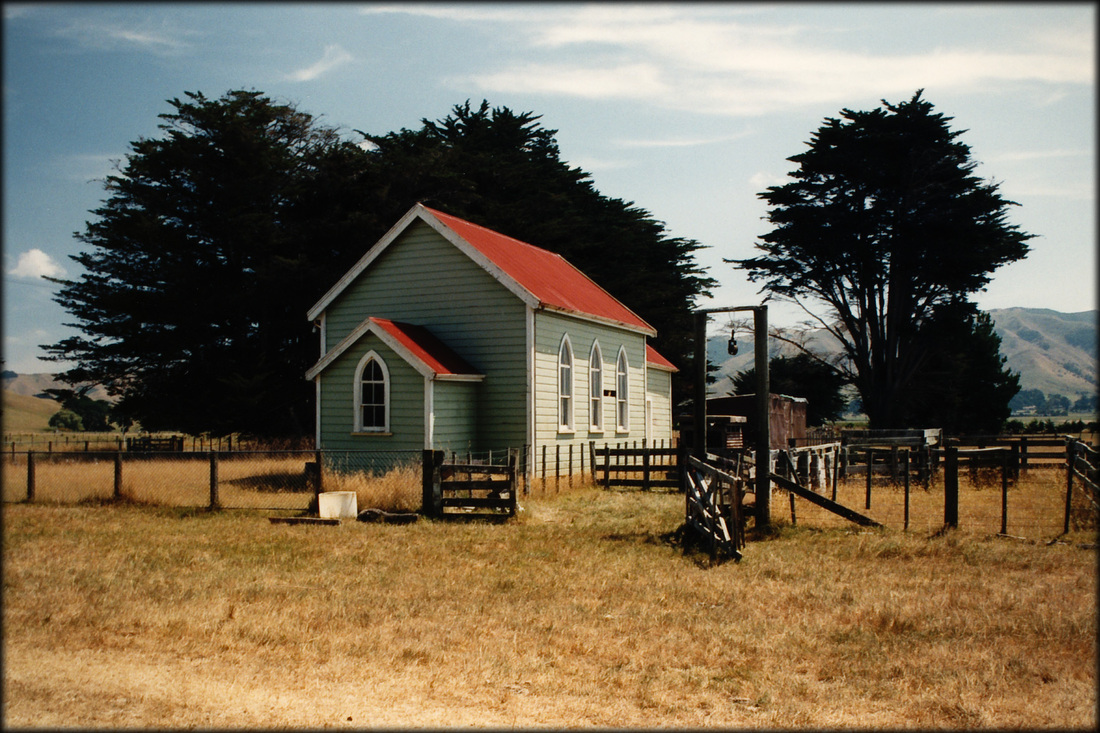
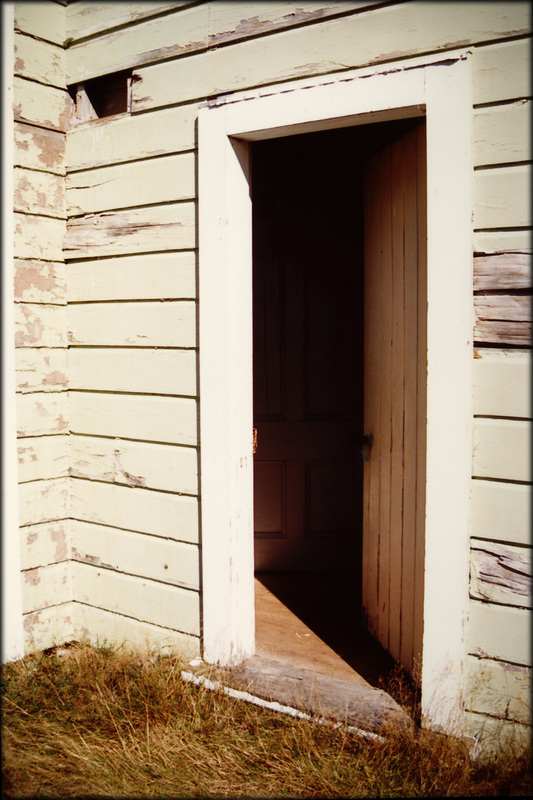
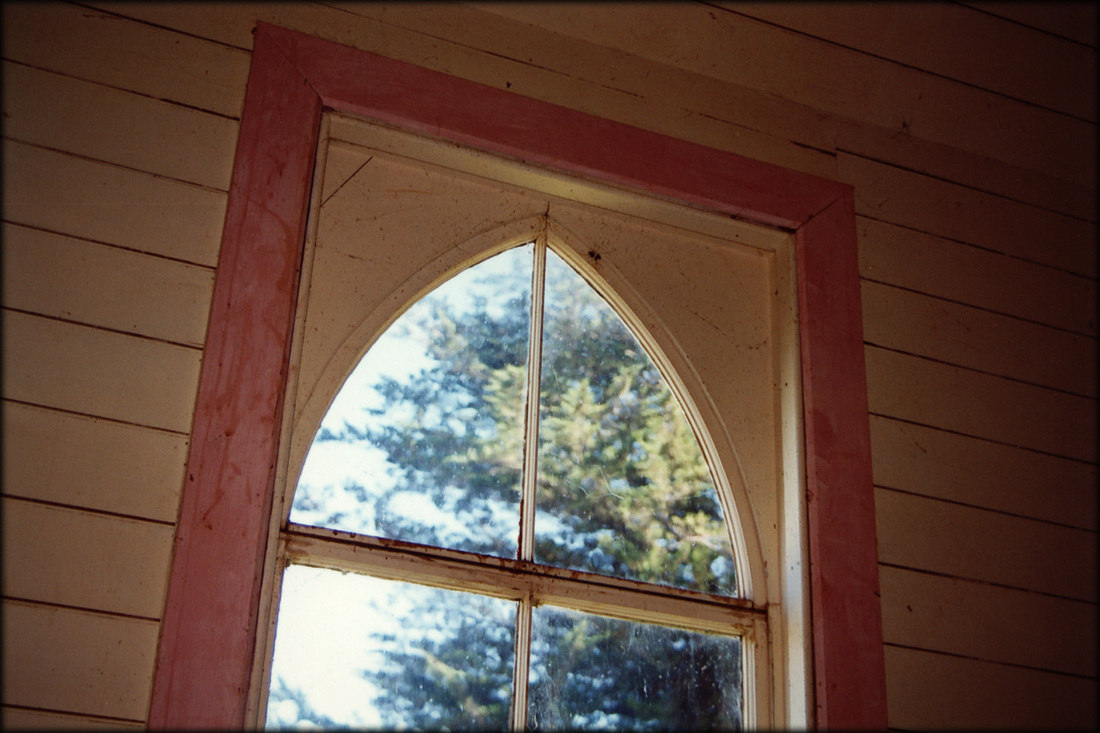
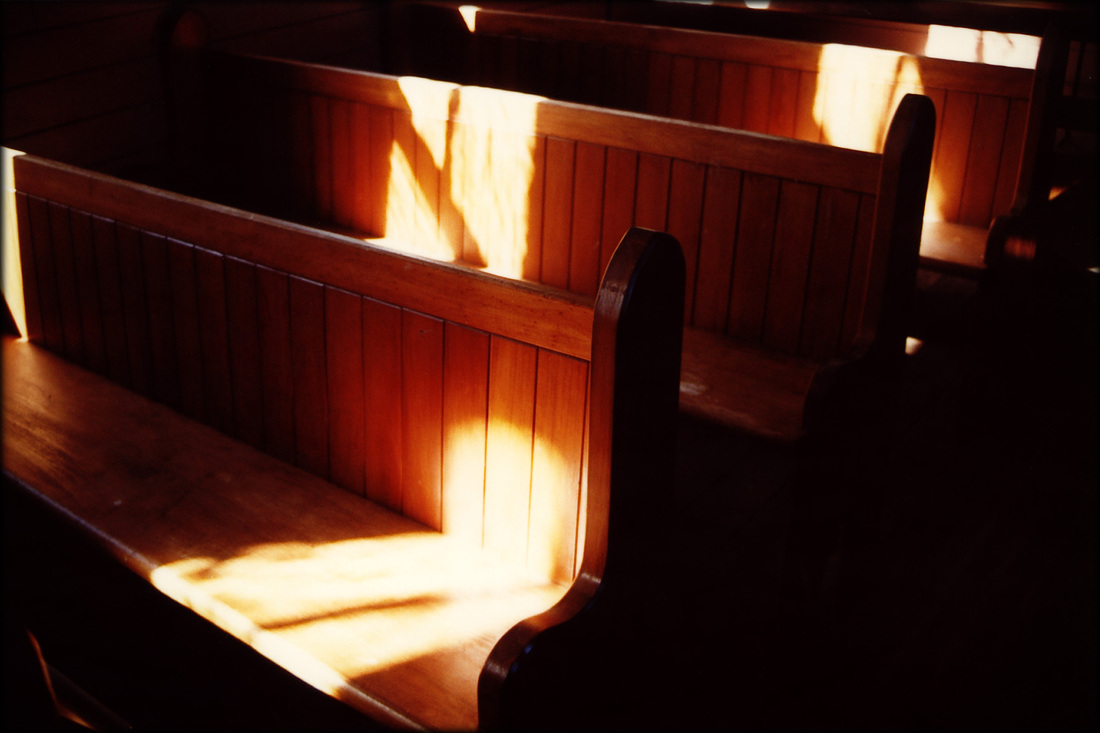
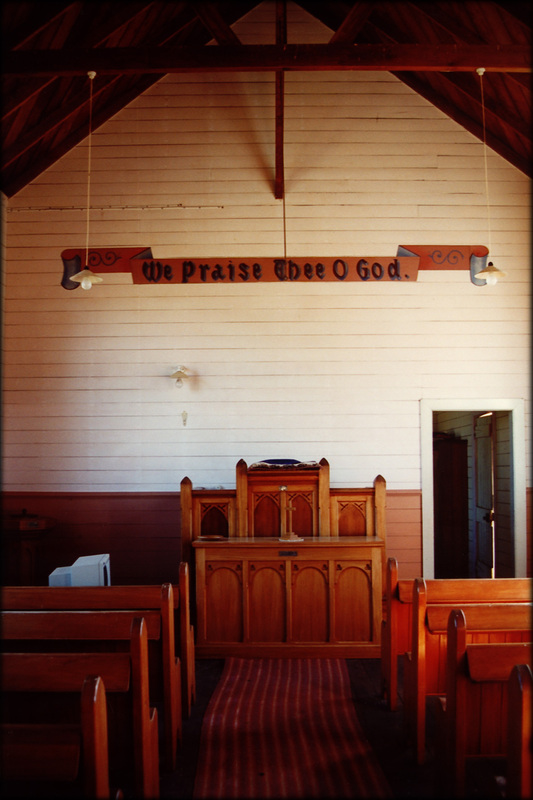
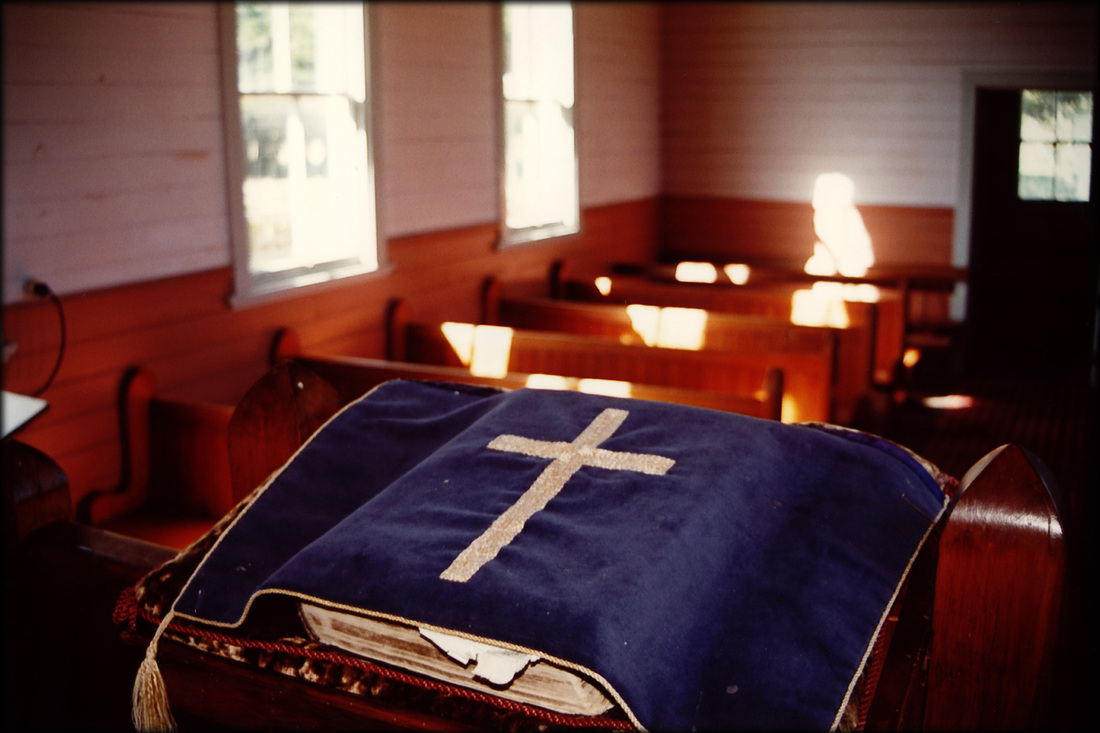
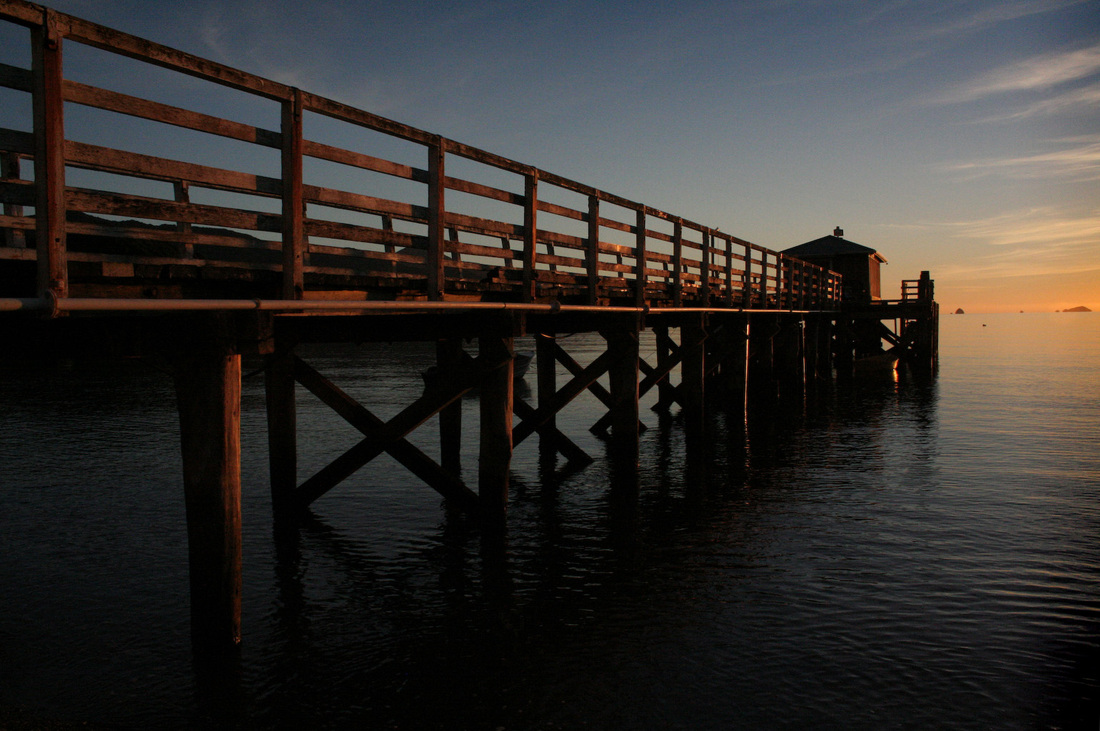
A photo essay taken as part of my Massey University Honours Degree. Quite incredible to think buildings like this were the heart of a rural community and now thousands of them lay abandoned and often neglected. This one looked like they'd left after a service years ago and just not come back.
Often we blindly scan through magazines or picture books knowing we like an image, but without spending some time to work out what it is about the image that appeals. Taking that second look can uncover clues to the way the photographer conceived, set-up and and shot the image. Ask yourself; is it the lighting, the colouring - black and white, retro or vivid for instance, a particular highlight colour, the contrast - the difference between lights and darks, the subject itself or even the use of texture which appeals to you. Noticing these things can teach you a lot about composition. Searching for the reflective areas within the shot is probably the most revealing aspect as far as lighting goes. The eyes in a portrait, and even the shine on a forehead, can reveal the type of lighting used. The shadows will give us the quality and intensity of the light. Small, intense light sources, for example on a sunny day, create strong contrasts and sharp edges to the shadow - great for highlighting texture. Whereas large, diffused lighting (e.g. cloudy days) produce lighter shadows with less distinct edges - great for sympathetic portraits. My university students found this tip useful: find an image you like, notice where your eye lands on that image and then take note of where your eye travels around the photo. Often your eye will land on an area that is different, like dark hair in an overall light image (high key), then wander along lines, angles or even to where the subject is looking to other landmarks in the image. If there is continual movement around the picture, if those lines lead your eye back to the main element in the image and if that image holds your attention for more than a few seconds then the photographer has been successful. So next time your flicking through a magazine or glancing through a book take some time to consider how the photographer made such a captivating image.
The interest in portrait shoots this Xmas season has really surprised me and what a great gift to give and to receive. If you'd like to book a sitting there is still time and if we act fast I can have the images back to you in time for Xmas. Or click here to enquire about getting a personalised photography voucher for your loved one.
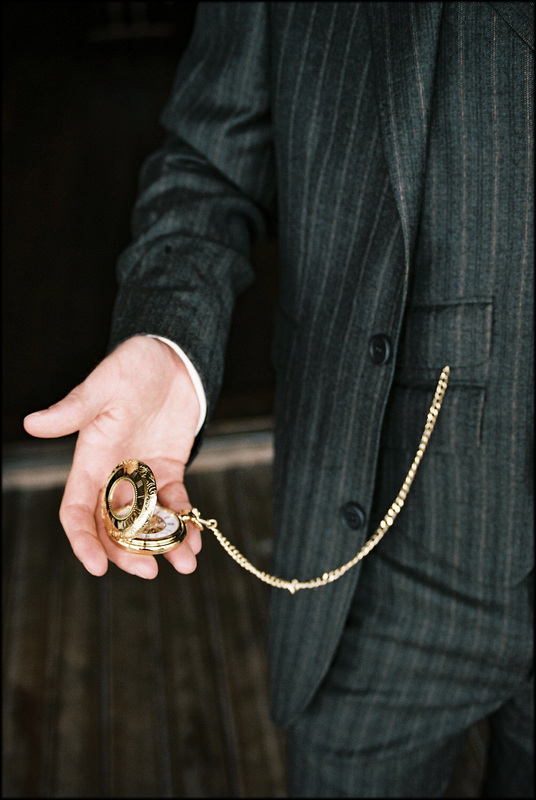
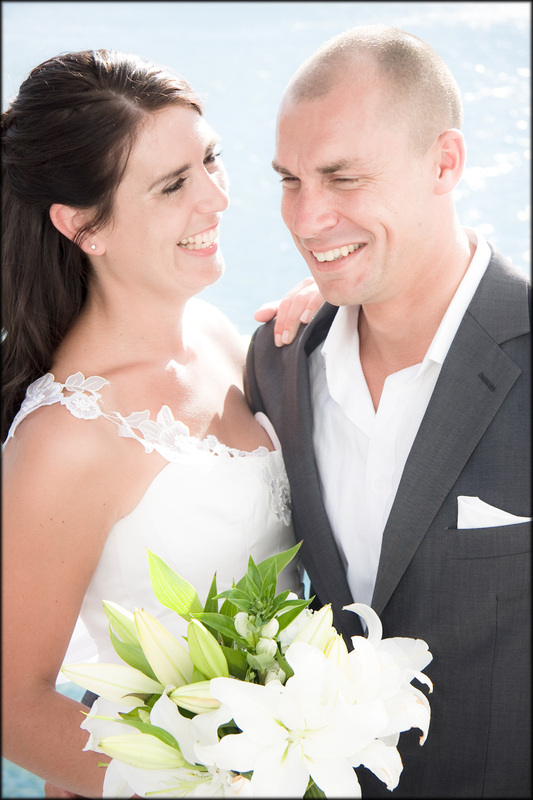
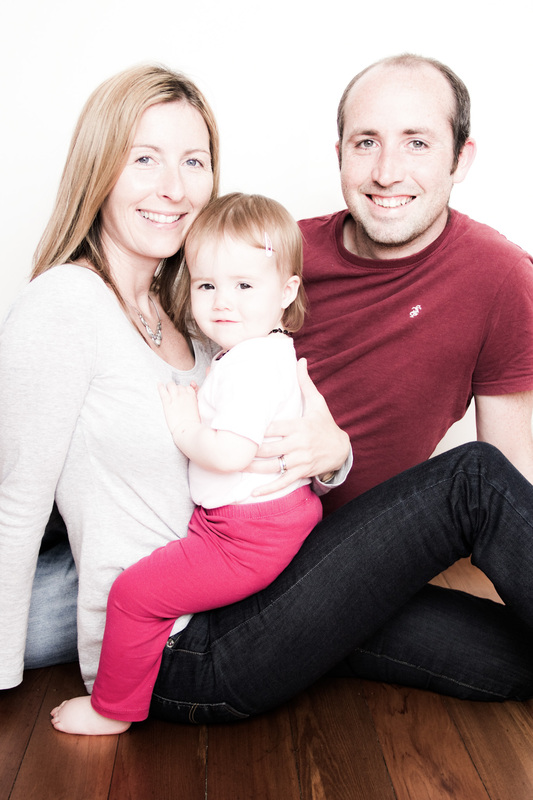
Sure staged photos are great but it's that instant right before or straight after that composed shot, when everyone has abandoned their 'photo face' and stopped putting on a show, that can often times deliver the most stunning results. It really does pay to stay connected and have your camera at the ready.  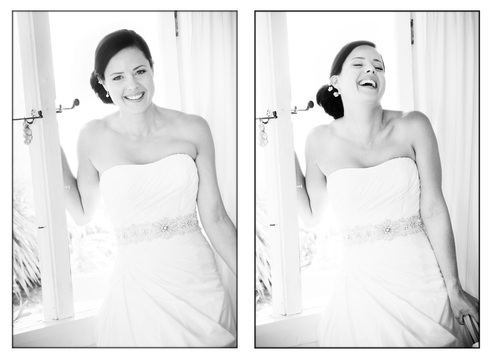 Today's photo shoot, gorgeous wee Erin and her parents Dave and Caroline. 
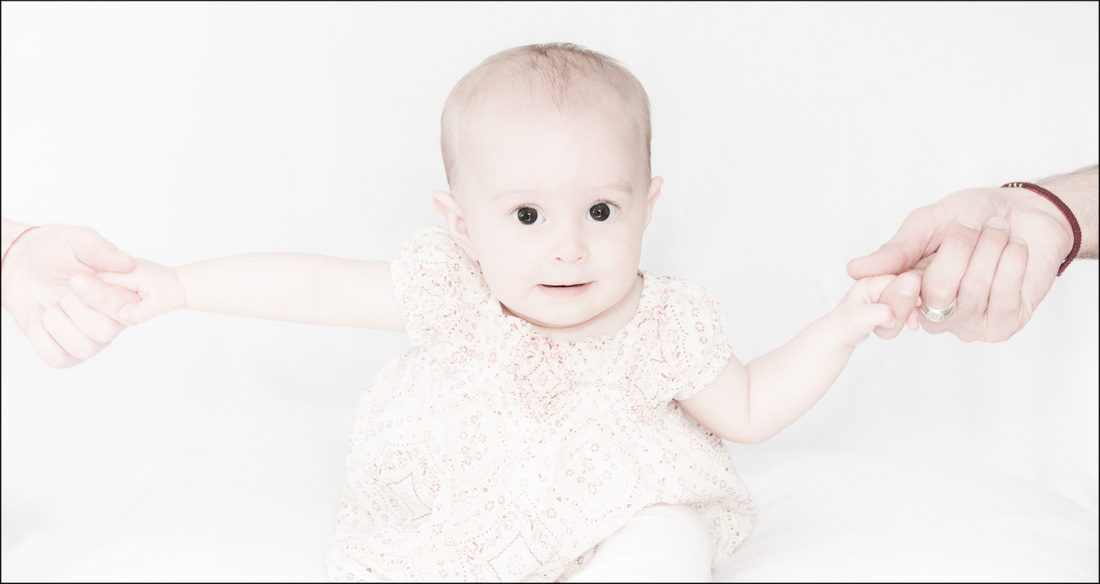
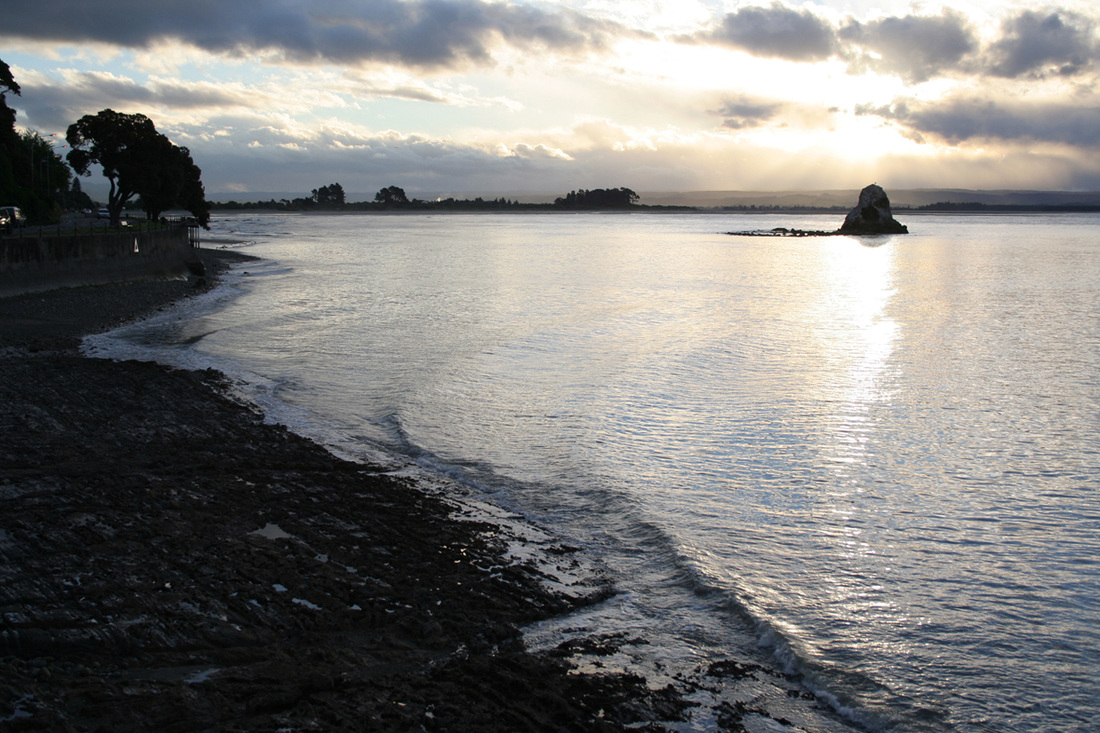
Love this shot, it's going to make a great canvas cropped top and bottom to a long panoramic format
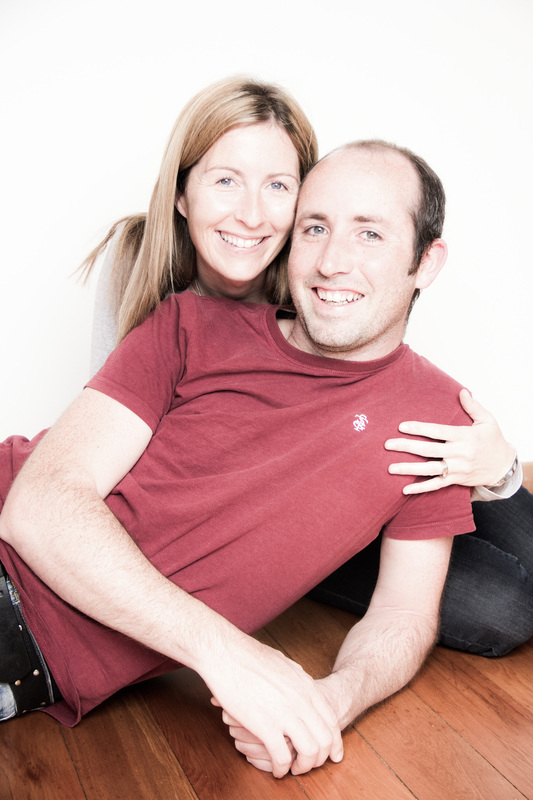
As a footnote to a previous post... I'm happy to report the frost cloth draped over the windows worked really well to diffuse the light in this daylight studio. Their bare floorboards and plain walls made set up for the in-home photo shoot really easy, no need for a back-drop or props! Thanks guys

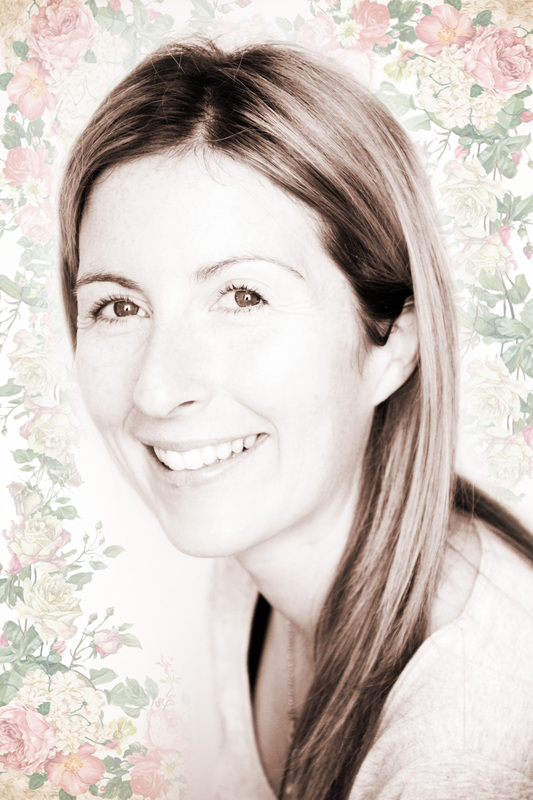
A collage - sourced from three daylight studio shoots - natural, diffused front lighting
Next time you're out and about on a partly cloudy day watch the shadows on a companions face. When the cloud covers the sun a natural diffusing effect occurs which reduces contrast (Lightens shadows and darkens highlights), softens the sharp edges of shadows and lightens the dark tones of the shadow areas. In effect it's turning a small bright light source into a larger softer light source. Photographers do this in the studio by bouncing light off white surfaces or by shining the light through big diffusion screens made from transparent white material. The best form of diffusion I've found for a natural daylight studio is the sheet foam that many appliances come wrapped in. I use it to cover the windows when I set up a daylight studio in my clients homes, it creates the softest light but doesn't alter the intensity or brightness of the light. It also serves to simplify reflections in shiny surfaces like the eyes. I'm about to try a roll of frost cloth on a newborn shoot tomorrow, I'll share the results soon. 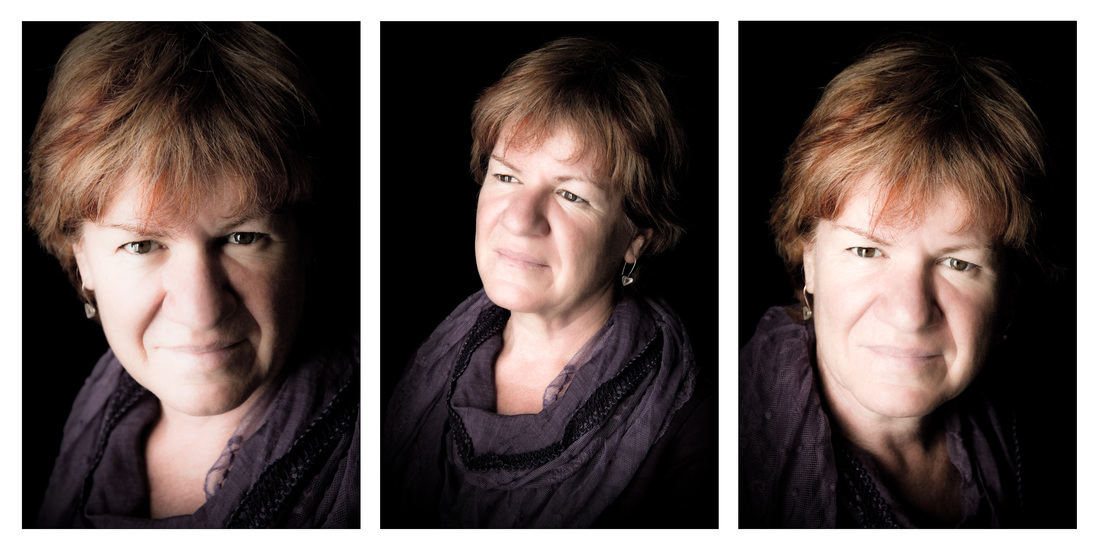
Max - Natural, diffused side lighting. Daylight Studio
|

Geri SheppardMother of two Archives
May 2016
Categories
All
|


 RSS Feed